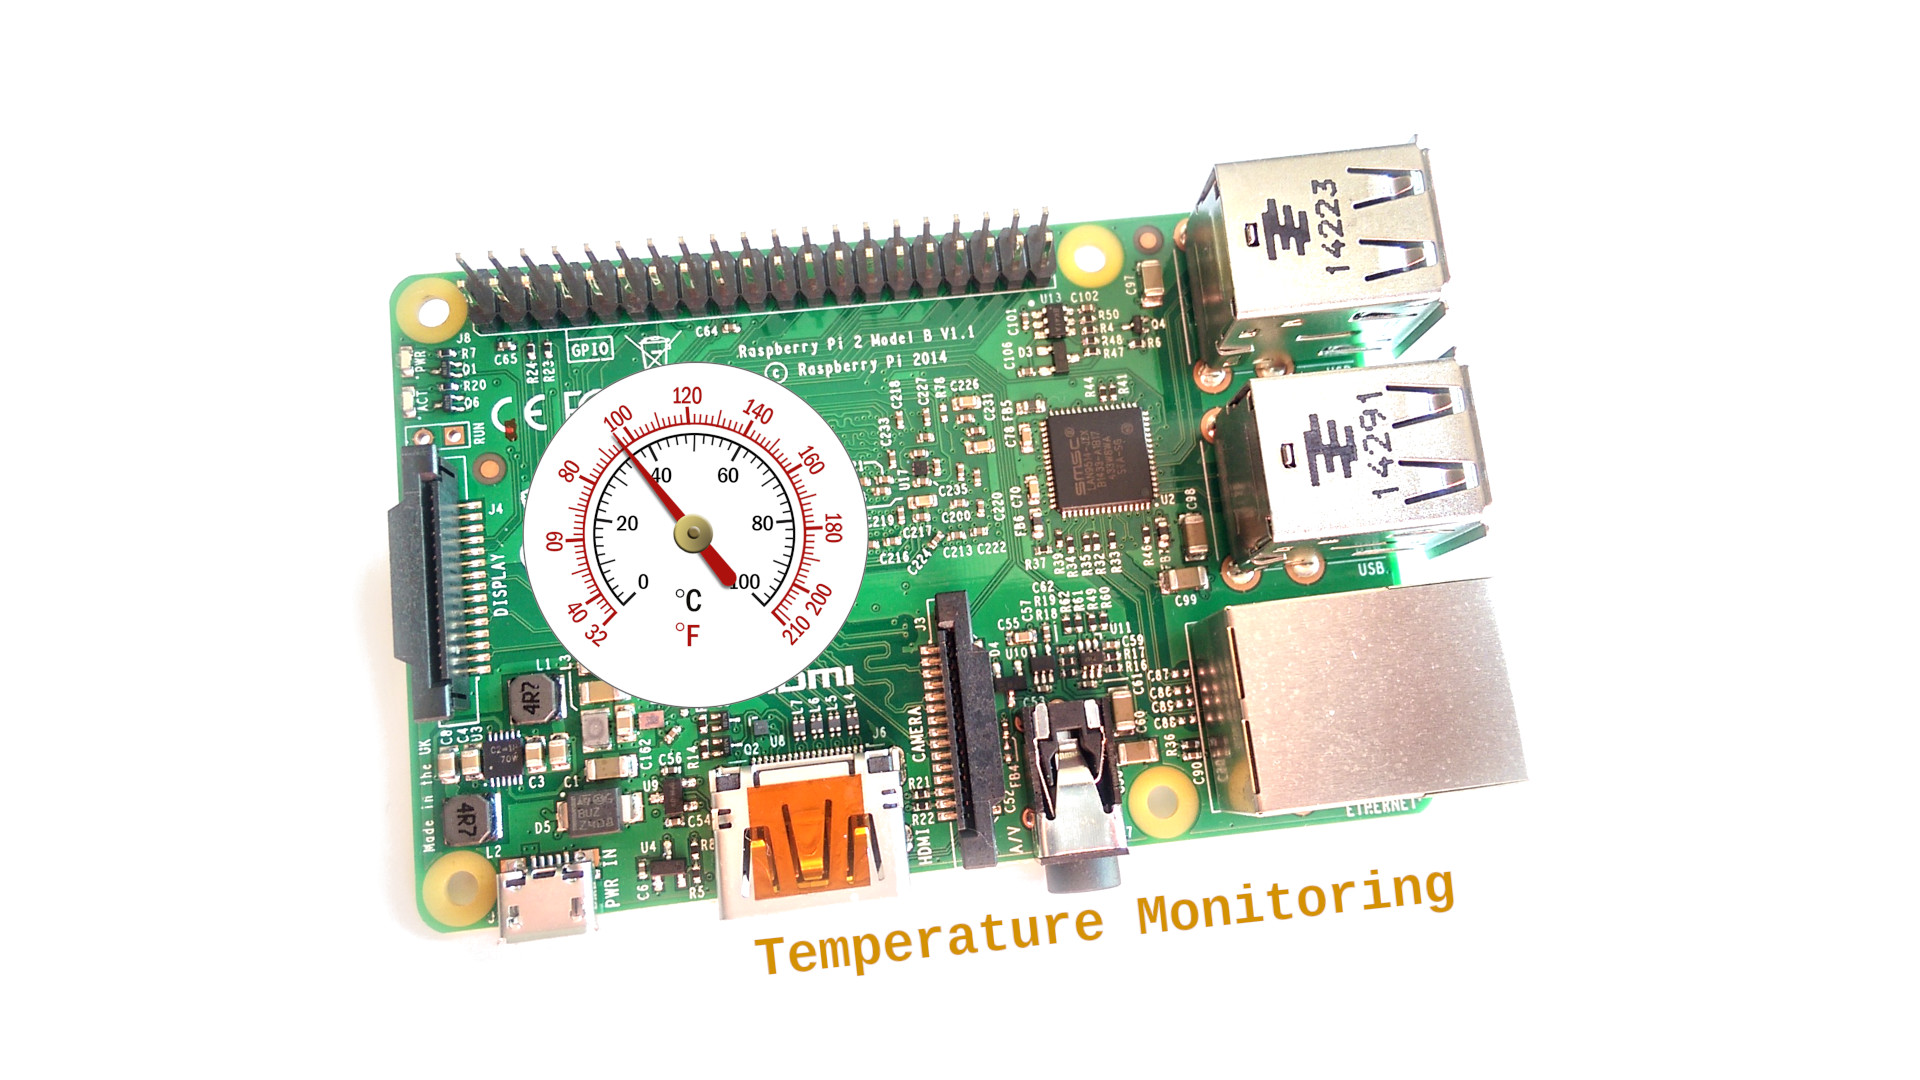
Free Remote IoT Monitoring With Raspberry Pi: The Ultimate Guide For DIY Enthusiasts
Listen up, tech-savvy friends! If you're diving into the world of IoT and want to set up free remote IoT monitoring with Raspberry Pi, you're in the right place. Picture this: you're sitting on your couch, sipping coffee, and BAM—you get real-time updates from sensors all over your house or even across the globe. Sounds futuristic? It’s totally doable, and we're about to break it down for you step by step. So, grab your Raspberry Pi, and let's get started!
In this guide, we'll walk you through everything you need to know about setting up a system that lets you monitor IoT devices remotely without breaking the bank. Whether you're a beginner or an experienced maker, this article is packed with actionable tips, tricks, and tools to help you create your own IoT monitoring setup. Let’s make it happen!
Before we dive deep into the nitty-gritty, it’s important to understand why Raspberry Pi is such a game-changer in the IoT world. Not only is it affordable, but it’s also super versatile and beginner-friendly. Combine that with free software solutions, and you’ve got yourself a killer combo for remote monitoring. So, buckle up, because we’re about to take you on a tech adventure!
- Jameliz Benitez Smith Onlyfans Video A Comprehensive Guide
- Explore Diva Flawless Latest Onlyfans Content Viral Videos You Cant Miss
Why Raspberry Pi is Perfect for Free Remote IoT Monitoring
First things first, let’s talk about why Raspberry Pi is the star of the show when it comes to remote IoT monitoring. The little device packs a punch, offering a ton of features that make it ideal for DIY projects. Here’s what makes Raspberry Pi so awesome:
- Affordable price tag—no need to invest in expensive hardware.
- Wide range of compatible sensors and modules for endless possibilities.
- Large community support with tons of tutorials and forums for troubleshooting.
- Open-source software options that keep costs low.
With Raspberry Pi, you can monitor everything from temperature and humidity levels to security cameras and more. The best part? You can access all this data from anywhere in the world using your smartphone or laptop. How cool is that?
Setting Up Your Raspberry Pi for IoT Monitoring
Alright, now let’s talk about the setup process. Don’t worry if you’re new to this—Raspberry Pi is designed to be user-friendly, even for beginners. Follow these steps to get your device ready for remote IoT monitoring:
- Zefoy Free Likes Followers What You Need To Know In 2023
- Onlyfans Alice Rosenblum Leaks Collabs Free Porn 2024 The Untold Story
Step 1: Install the Right Operating System
Start by downloading Raspberry Pi OS, which is the official operating system for Raspberry Pi. It’s lightweight, reliable, and packed with features perfect for IoT projects. Once you’ve installed the OS, make sure to update it to the latest version using the terminal commands:
sudo apt update && sudo apt upgrade
This ensures your device is running smoothly and securely.
Step 2: Connect Your Sensors
Next, it’s time to connect your sensors. Whether you’re monitoring temperature, motion, or air quality, there’s a sensor out there for every need. For example, the DHT22 sensor is great for measuring temperature and humidity. Just connect it to your Raspberry Pi using GPIO pins, and you’re good to go.
Pro tip: Use a breadboard to make wiring easier and avoid any accidental short circuits.
Choosing the Right Software for Free Remote IoT Monitoring
Now that your hardware is set up, let’s talk software. There are tons of free and open-source tools available that make remote IoT monitoring a breeze. Here are a few of our top picks:
- Node-RED: A visual programming tool that makes it easy to connect devices and process data.
- Home Assistant: Perfect for home automation and monitoring, with tons of integrations.
- Grafana: Ideal for creating beautiful dashboards to visualize your sensor data.
Each of these tools has its own strengths, so choose the one that best fits your project requirements. For example, if you’re looking for a simple setup, Node-RED might be your best bet. But if you want advanced features like voice control, Home Assistant could be the way to go.
Securing Your Remote IoT Monitoring System
Security is key when it comes to remote IoT monitoring. After all, you don’t want unauthorized access to your personal data. Here are a few tips to keep your system secure:
- Change the default password for your Raspberry Pi immediately.
- Use SSH for secure remote access and enable two-factor authentication.
- Keep your software and firmware up to date to protect against vulnerabilities.
By following these best practices, you can ensure your system is safe from potential threats. Remember, prevention is always better than cure!
Creating a Dashboard for Your IoT Data
Once you’ve collected all your sensor data, it’s time to visualize it. A well-designed dashboard can make it easy to interpret and act on your data. Tools like Grafana or Home Assistant allow you to create custom dashboards with charts, graphs, and more.
Why Dashboards Matter
Dashboards provide a quick overview of your IoT data, making it easier to spot trends and anomalies. For example, if you’re monitoring temperature, a dashboard can help you identify sudden spikes or drops that might indicate a problem.
Plus, they’re just plain cool to look at! Who doesn’t love a sleek, modern interface?
Connecting to the Cloud for Remote Access
To truly take advantage of remote IoT monitoring, you’ll want to connect your Raspberry Pi to the cloud. This allows you to access your data from anywhere in the world, as long as you have an internet connection.
Popular Cloud Platforms
There are several cloud platforms you can use for your IoT project, including:
- Adafruit IO: Great for beginners, with a user-friendly interface and tons of tutorials.
- Thingspeak: Perfect for data visualization and analysis, with built-in MATLAB support.
- AWS IoT: Ideal for large-scale projects, with enterprise-grade features.
Choose the platform that aligns with your project goals and skill level. And don’t forget to secure your cloud connection using encryption and authentication protocols.
Troubleshooting Common Issues
Let’s face it—no project goes perfectly the first time. Here are some common issues you might encounter when setting up remote IoT monitoring with Raspberry Pi, along with solutions:
- Sensor not reading data? Check your wiring and ensure the sensor is properly powered.
- Can’t connect to the internet? Verify your Wi-Fi settings and make sure your router is working.
- Data not updating in real-time? Double-check your code and ensure your software is configured correctly.
Remember, troubleshooting is all part of the process. Don’t get discouraged—just keep experimenting until you find the solution.
Advanced Tips for Pro Users
If you’re ready to take your remote IoT monitoring setup to the next level, here are a few advanced tips:
Automating Tasks
Use automation tools like cron jobs or Tasker to schedule tasks and notifications. For example, you can set up an alert to notify you when the temperature in your greenhouse drops below a certain level.
Integrating AI
Consider integrating machine learning algorithms to analyze your data and make predictions. This can help you identify patterns and optimize your system for better performance.
Real-World Applications of Remote IoT Monitoring
So, how can you apply remote IoT monitoring in real life? The possibilities are endless! Here are a few examples:
- Smart agriculture: Monitor soil moisture and weather conditions to optimize crop growth.
- Home security: Set up motion sensors and cameras to keep an eye on your property.
- Healthcare: Track vital signs remotely for elderly or chronically ill patients.
These applications not only make life easier but can also save money and improve safety. The potential impact is huge!
Resources and Further Reading
Ready to dive deeper into the world of remote IoT monitoring? Here are some resources to check out:
- Raspberry Pi official documentation: raspberrypi.org
- Node-RED tutorials: nodered.org/docs
- Home Assistant community forums: community.home-assistant.io
These resources are packed with helpful information and tips from experienced makers. Plus, they’re all free, so you can learn as much as you want without spending a dime.
Conclusion
And there you have it—your ultimate guide to setting up free remote IoT monitoring with Raspberry Pi. From choosing the right hardware and software to securing your system and creating stunning dashboards, we’ve covered it all. Remember, the key to success is experimentation and persistence. Don’t be afraid to try new things and learn from your mistakes.
So, what are you waiting for? Grab your Raspberry Pi and start building your dream IoT project today. And don’t forget to share your progress with the community—we’d love to see what you create! Happy making!
Table of Contents
Why Raspberry Pi is Perfect for Free Remote IoT Monitoring
Setting Up Your Raspberry Pi for IoT Monitoring
Choosing the Right Software for Free Remote IoT Monitoring
Securing Your Remote IoT Monitoring System
Creating a Dashboard for Your IoT Data
Connecting to the Cloud for Remote Access
Real-World Applications of Remote IoT Monitoring
- Unveiling Julia Ann A Look Back At Her Career Evolution
- Exploring Wwwmydesinet A Comprehensive Guide To Desi Entertainment And Culture

Weather monitoring system using raspberry pi inrikopin
RemoteIoT Monitoring SSH Raspberry Pi Free A Comprehensive Guide

RemoteIoT Monitoring SSH Download Raspberry Pi Ubuntu Free A
